Emergency Roof Leak Quick-Fix Guide: Immediate Solutions for Homeowners
- October 27, 2025
A roof leak can quickly escalate from a minor inconvenience to a serious emergency that threatens your home’s structure and contents. When water starts dripping through your ceiling during a storm, you need immediate solutions to contain the damage until professional help arrives. This comprehensive guide provides practical, step-by-step instructions for temporary roof leak containment that any homeowner can implement, even with limited tools and experience.
Acting quickly is crucial – every minute counts when water is entering your home. These emergency measures won’t permanently fix your roof, but they will buy you valuable time and minimize damage while you arrange for professional repairs. Let’s get started with immediate actions you can take to protect your home.
Safety First: Essential Precautions Before Attempting Repairs
Before rushing to fix a roof leak, your safety must be the priority. Attempting repairs in unsafe conditions can lead to serious injuries or worse. Follow these essential safety precautions:
Electrical Safety Warning
Water and electricity create a deadly combination. If water is leaking near electrical fixtures, switches, or appliances, take these immediate precautions:
- Turn off electricity to affected areas at your circuit breaker
- Do not touch electrical devices or switches if standing in water
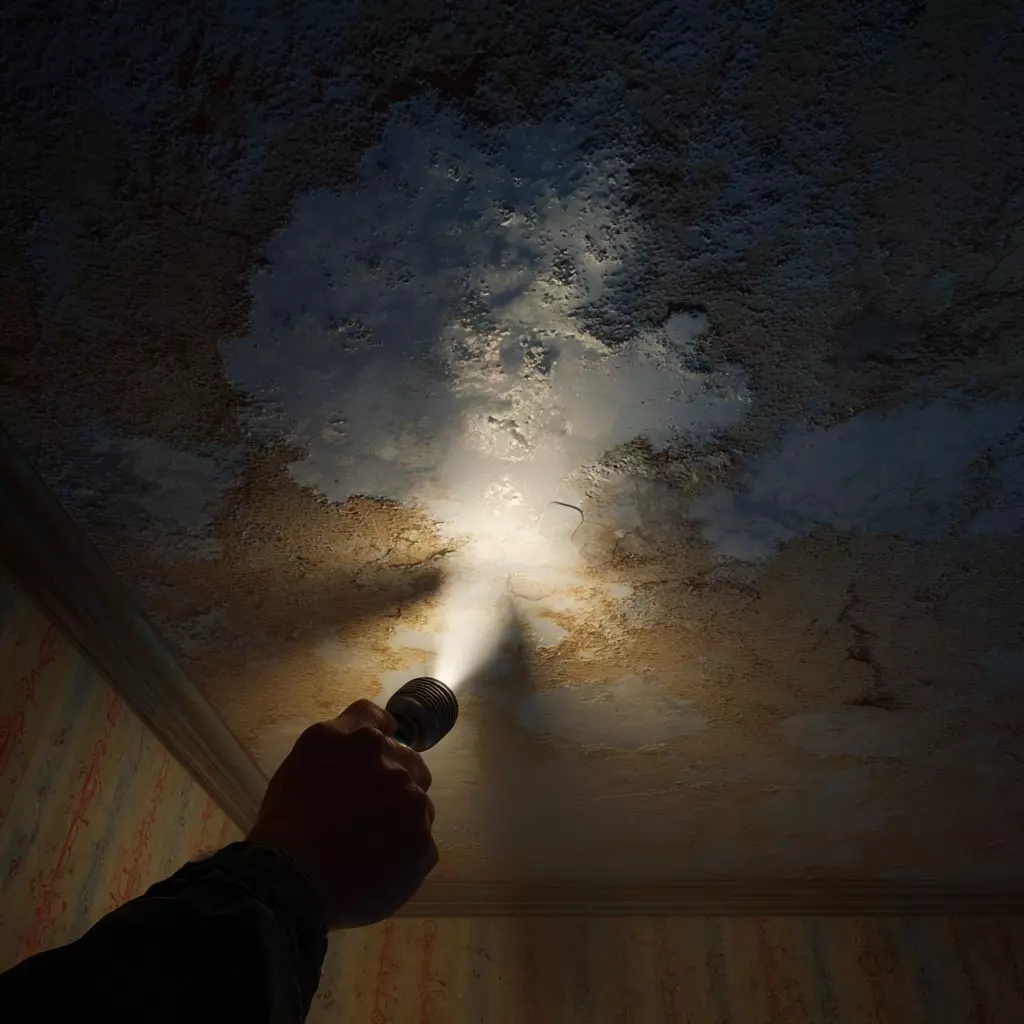
- Use a torch or battery-powered light instead of hardwired lighting
- If water is widespread, consider shutting off main power until the situation is assessed
Fall Prevention Measures
Accessing your roof during an emergency can be hazardous, especially in wet conditions. Consider these safety guidelines:
- Use a sturdy, properly secured ladder with a helper holding it steady
- Wear non-slip footwear with good traction
- Never work on a steep roof during rain or strong winds
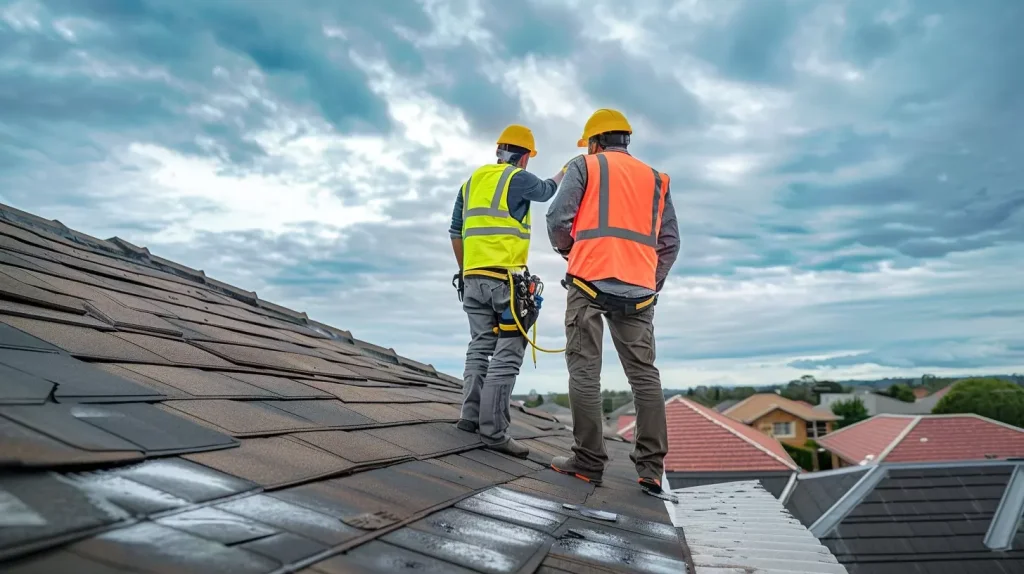
- Use a safety harness if available and properly anchored
- Stay clear of power lines – maintain at least 3 meters distance
- Work with a partner who can assist or call for help if needed
- Keep your centre of gravity low and movements deliberate
- If you feel unsafe at any point, wait for professional help
Weather Considerations
Attempting repairs during adverse weather conditions significantly increases risks:
- Never access your roof during thunderstorms, high winds, or heavy rain
- Wait for a break in the weather if possible before attempting exterior fixes
- Focus on interior water containment until conditions improve
- Be aware of slippery surfaces both inside and outside your home
When DIY Becomes Dangerous
If your roof leak involves any of these high-risk situations, focus on containing water from inside and contact a professional immediately:
- Structural damage (sagging ceiling or roof)
- Electrical system involvement
- Steep roof pitch or difficult access
- Extensive damage requiring specialized equipment
Find Emergency Roofing Help
Emergency Tools & Materials: Household Items for Temporary Fixes
You don’t need professional roofing equipment to implement effective temporary fixes. Most homes already contain many useful items that can help contain a roof leak until proper repairs can be made. Gather these common household materials:
Interior Containment
- Buckets, pots, or plastic containers
- Towels and old rags
- Plastic sheets or garbage bags
- Duct tape or packing tape
- String or light rope
Exterior Patching
- Tarpaulin or heavy plastic sheeting
- Roofing cement or silicone sealant
- Plywood sheets (small pieces)
- Roofing nails or screws
- Hammer or screwdriver
Safety & Documentation
- Torch or headlamp
- Gloves (waterproof if possible)
- Smartphone or camera
- Pen and paper for notes
- First aid kit
Emergency Roof Repair Kit
Consider assembling a dedicated emergency roof repair kit to keep on hand, especially during storm seasons. A well-prepared kit can save precious time when leaks occur.
Recommended Emergency Roof Repair Kit Contents
- Waterproof tarpaulin: Heavy-duty, UV-resistant (at least 3m x 3m)
- Roofing tape: Self-adhesive, waterproof variety designed for emergency repairs
- Roofing cement: Small tub of ready-to-use waterproof patching compound
- Plastic sheeting: Heavy mil thickness for interior protection
- Utility knife: For cutting materials to size
- Duct tape: Heavy-duty, waterproof variety
- Disposable gloves: To protect hands when handling adhesives
- Battery-powered torch: With fresh batteries
Step-by-Step Quick Fix Methods: Interior Containment
When you discover a roof leak, your first priority should be containing the water inside your home to prevent damage to your belongings, walls, and flooring. These interior containment methods can be implemented immediately, even during heavy rainfall.
1. Bucket Placement and Water Diversion
The most immediate response to a ceiling leak is placing containers to catch dripping water. However, strategic placement and additional techniques can significantly improve effectiveness:
- Place buckets, pots, or plastic containers directly under leak points
- For multiple or spreading leaks, use multiple containers arranged to catch all drips
- Add a tablespoon of salt to each container to prevent mosquitoes from breeding if water stands for days
- Place towels around container bases to absorb splashes and overflow
Pro Tip: String Water Diversion Technique
For a more controlled water collection that reduces splashing and noise:
- Locate the exact point where water is entering through the ceiling
- Attach a piece of string or light rope to this point (using a thumbtack or tape)
- Place the other end of the string inside your collection bucket
- Water will follow the string directly into the bucket, minimizing splashing and noise
2. Ceiling Water Bulge Management
Sometimes water collects in a bulge or bubble in your ceiling before breaking through. This concentrated pool of water can cause significant damage if it bursts uncontrolled. Here’s how to safely manage it:
- Place multiple buckets, towels, and plastic sheeting below the bulge to prepare for water release
- Use a screwdriver or similar pointed tool to make a small hole at the lowest point of the bulge
- Allow water to drain in a controlled manner into your collection containers
- Once drained, dry the area as much as possible with towels
3. Protecting Furniture and Belongings
While containing the leak, don’t forget to protect your possessions from water damage:
- Move valuable items, electronics, and furniture away from leak areas
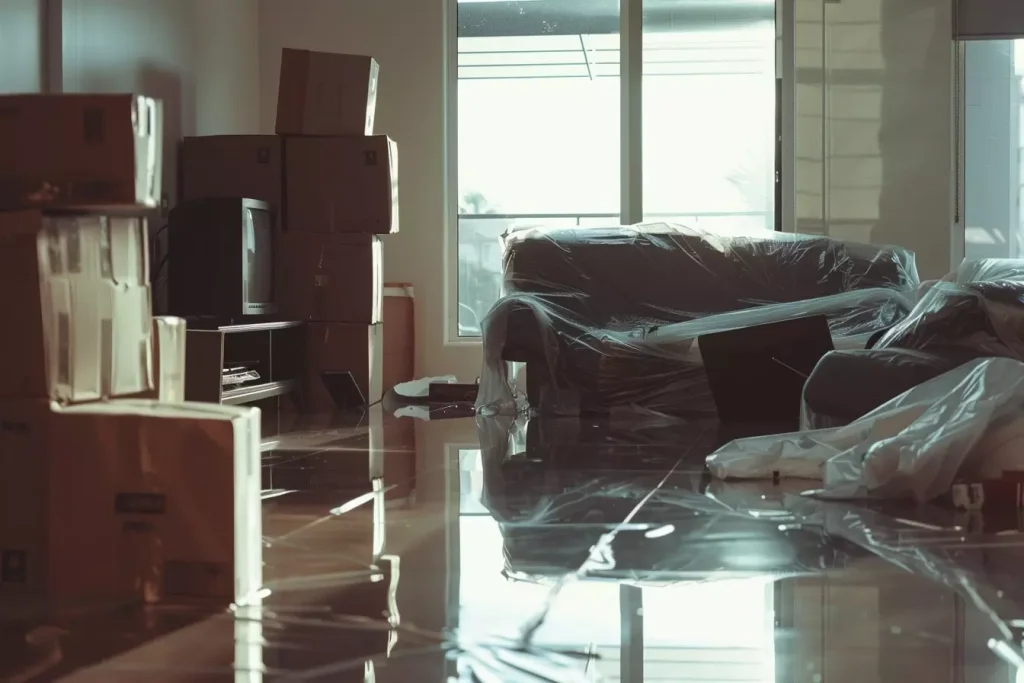
- Cover immovable furniture with plastic sheeting or garbage bags
- Remove wet carpets or rugs and hang to dry if possible
- Elevate items off wet floors using bricks, wooden blocks, or plastic containers
- Collect important documents and store in waterproof containers
Temporary Exterior Patches: Stopping Leaks at the Source
Once weather conditions permit safe roof access, addressing the leak at its source can provide more effective temporary protection. These methods can help seal the leak until professional repairs are possible.
Safety Reminder
Only attempt exterior repairs when weather conditions are safe and you have proper equipment. Never work on a wet or steep roof without appropriate safety gear and assistance. If in doubt, focus on interior containment and wait for professional help.
1. Tarp Installation Method
A properly installed tarp can provide effective temporary protection for days or even weeks. Follow these steps for secure installation:
- Select a heavy-duty, waterproof tarp large enough to extend at least 1 meter beyond the damaged area on all sides
- Position the tarp so it extends from the roof peak down past the damaged area, allowing water to flow over rather than under it
- Secure the top edge of the tarp under roof shingles if possible, or use roofing nails with washers to prevent tearing
- Stretch the tarp tight and secure the bottom and side edges with heavy objects like bricks or timber battens
- Ensure the tarp doesn’t create pockets where water can collect
2. Emergency Sealing Techniques
For smaller, identifiable leak points, these sealing methods can provide immediate results:
Roofing Cement Method
- Clean and dry the damaged area
- Apply roofing cement generously over and around the leak point
- Press a piece of roofing mesh or heavy-duty aluminum foil into the cement
- Cover with another layer of roofing cement
- Smooth edges to prevent water entry
Silicone Sealant Technique
- Thoroughly clean the leak area
- Allow surface to dry completely
- Apply waterproof silicone sealant directly into cracks or holes
- Build up multiple thin layers rather than one thick application
- Allow each layer to cure before adding more
Roofing Tape Application
- Clean and dry the damaged surface
- Cut roofing tape to extend beyond damage
- Remove backing and press firmly onto the leak area
- Work from the bottom up for overlapping pieces
- Press edges firmly to create a watertight seal
Common Leak Location Solutions
Different roof features require specific approaches for effective emergency repairs. Here are targeted solutions for common leak locations:
Around Roof Vents
Leaks often occur where the vent boot (the rubber gasket around vent pipes) has deteriorated:
- Clean the area around the vent pipe
- Apply roofing cement generously around the base of the vent
- For severely damaged boots, create a temporary collar using aluminum flashing wrapped around the pipe and sealed with roofing cement
Chimney Flashings
The junction between chimney and roof is particularly vulnerable to leaks:
- Inspect for gaps in flashing or deteriorated sealant
- Clean the area thoroughly
- Apply a generous bead of roofing cement or silicone sealant along the entire junction
- For larger gaps, press aluminum flashing into wet cement and cover with another layer
Roof Valleys
Valleys (where two roof slopes meet) channel large amounts of water and are prone to leaks:
- Clear all debris from the valley
- Identify damaged or missing flashing
- Apply roofing cement along the entire length of the valley
- For severe damage, place a strip of aluminum flashing over the valley and secure with roofing cement
Skylight Leak Emergency Fix
Skylights frequently develop leaks around their perimeter seals. For a quick emergency fix:
- Clean debris from around the skylight frame
- Apply clear silicone sealant around the entire perimeter where the skylight meets the roof
- Pay special attention to the upper edge and corners where water naturally flows
- Allow sealant to cure according to product instructions
Note: This is a temporary solution. Skylight leaks often indicate deteriorated flashing that will require professional replacement.
What NOT To Do: Common Mistakes That Worsen the Situation
In the urgency of addressing a roof leak, homeowners sometimes make well-intentioned mistakes that can actually worsen the situation. Avoid these common errors:
Dangerous Mistakes to Avoid
- Using improper sealants: Bathroom caulk, wood glue, or standard household adhesives are not waterproof enough for roof repairs and will fail quickly
- Applying sealant during rain: Most sealants require dry conditions to adhere properly – applying in rain wastes materials and won’t stop the leak
- Ignoring safety precautions: Rushing onto a wet roof without proper safety equipment risks serious injury
- Covering large areas with sealant only: Sealant alone won’t fix large damaged areas – structural support is needed
- Neglecting interior water: Failing to contain interior water while focusing on exterior repairs can lead to significant secondary damage
- Using weighted objects that could damage the roof: Heavy objects like concrete blocks can cause additional damage to an already compromised roof
- Attempting permanent repairs without proper knowledge: DIY permanent repairs often fail and may void roof warranties or insurance coverage
“The most expensive roof repair is often the second repair – the one needed after a hasty DIY fix fails. Emergency measures should focus on containment until proper repairs can be made.”
– Experienced Roofing Professional
When to Call a Professional: Recognising Your Limits
While emergency containment measures can temporarily address roof leaks, certain situations demand immediate professional intervention. Recognizing when DIY efforts are insufficient is crucial for your safety and to prevent further damage.
Clear Indicators That Professional Help Is Needed
Structural Concerns
- Sagging or deformed areas in your roof or ceiling
- Cracked or broken structural elements (rafters, trusses)
- Multiple or widespread leak points indicating systemic failure
- Water damage extending into wall cavities
Safety Issues
- Leaks near electrical systems or fixtures
- Steep roof pitch making DIY access dangerous
- Extensive damage requiring specialized equipment
- Any situation where you feel unsafe or uncertain
Damage Extent
- Large areas of missing or damaged roofing materials
- Leaks that persist despite your temporary fixes
- Signs of long-term water damage (mold, rot, staining)
- Complex roof features involved (skylights, chimneys, solar panels)
Timing Considerations
- Continuous heavy rainfall predicted for several days
- Winter conditions with freezing temperatures
- Storm season with high winds expected
- Any situation requiring immediate, permanent solutions
Emergency Roof Leak? Don’t Wait Until It’s Too Late
While temporary fixes can help contain the damage, professional assessment is essential for proper repairs and to prevent future problems. Our experienced roofing specialists can:
- Provide emergency tarp services for immediate protection
- Accurately identify the true source of leaks (often not where water appears)
- Assess for hidden damage not visible to homeowners
- Implement proper repairs that restore your roof’s integrity
Request Emergency Roof Inspection
For immediate assistance with serious roof leaks:
Post-Emergency Steps: What to Do After Containing the Leak
After you’ve successfully contained the leak, several important steps will help you transition from emergency response to proper resolution. These actions protect your interests and prepare for permanent repairs.
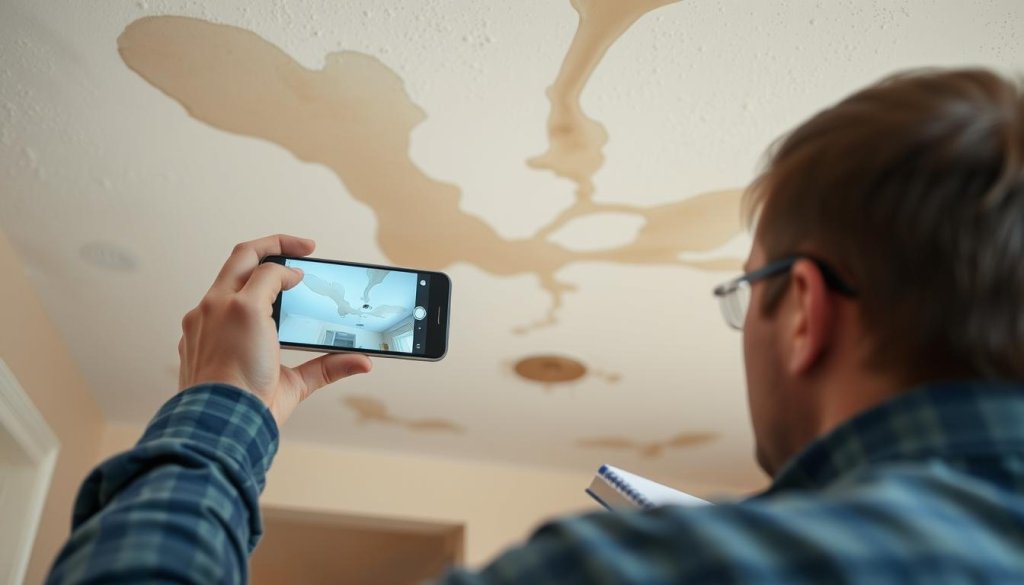
Documentation for Insurance Claims
Thorough documentation is crucial for insurance claims and can significantly impact your reimbursement. Follow these steps:
- Take clear, well-lit photographs of all damage, including:
- The leak source on the roof (if safely visible)
- Water damage to ceilings, walls, and floors
- Affected personal property and furniture
- Your temporary containment measures
- Save all receipts for emergency supplies purchased
- Note the date and time when you discovered the leak
- Document weather conditions at the time of the leak
- Keep records of all communications with insurance and contractors
Insurance Claim Checklist
- Contact your insurance company promptly to report the damage
- Understand your policy coverage and deductible before arranging repairs
- Ask if your policy covers emergency mitigation services
- Determine if temporary accommodations are covered if needed
- Get the claim process started before permanent repairs begin
- Request an adjuster inspection if the damage is significant
Scheduling Professional Inspection
Even after successful emergency containment, professional assessment is essential:
- Contact several reputable roofing companies for quotes
- Verify contractors have proper licensing and insurance
- Request detailed written estimates specifying materials and timeline
- Ask about warranty coverage for the repairs
- Inquire about preventive measures to avoid future leaks
- Schedule the inspection as soon as possible while continuing to monitor your temporary fixes
Preventing Mould and Secondary Damage
Water damage can lead to mould growth within 24-48 hours. Take these steps to minimize secondary damage:
- Use fans to circulate air in affected areas
- Deploy dehumidifiers if available to reduce moisture
- Remove wet carpets, padding, and affected insulation
- Clean and disinfect all wet surfaces with appropriate cleaners
- Open windows when weather permits to increase ventilation
- Monitor for musty odours that may indicate mould growth
- Check hidden areas like wall cavities for moisture
- Consider professional water damage restoration for extensive issues
Conclusion: Balancing Emergency Fixes with Proper Repairs
Roof leaks require immediate attention, and the emergency measures outlined in this guide can help you minimize damage while you arrange for professional assessment. Remember that these quick fixes are temporary solutions designed to buy you time – not permanent repairs.
By responding quickly with appropriate containment methods, documenting the damage thoroughly, and promptly engaging qualified professionals, you can effectively manage a roof leak emergency while positioning yourself for proper, lasting repairs.
Keep this guide handy during storm seasons, and consider preparing an emergency roof repair kit before you need it. With the right preparation and knowledge, you can confidently handle roof leak emergencies and protect your home from extensive water damage.
Need Professional Roof Inspection After Emergency Repairs?
Our experienced team provides thorough roof assessments, identifying hidden damage and recommending appropriate repairs to restore your roof’s integrity and prevent future leaks.
Schedule Your Professional Roof Inspection Today
Insulation & Energy‑Efficient Roofing in Australia: 2025 Ultimate Guide
Read More »Roof Fasteners in Coastal Zones: Coatings, Corrosion Categories & Failure Modes
Read More »Roofing Compliance for Class 5-9 Buildings in Australia: A Guide to NCC Standards
Read More »At Roofs.com.au, we are dedicated to providing top-quality roofing services across Australia. With years of experience in the roofing industry, we have earned a reputation for delivering reliable, efficient, and high-quality roofing solutions.
Navigation
Get in Touch
We’d love to hear from you! Whether you need a roof inspection, a free quote, or emergency roof repairs, our team is ready to assist you. Please visit our Contact Page to get in touch with us.
Contact Us Copyright © Roofs.com.au. All Rights Reserved.Roofs.com.au
REQUEST A QUOTE
At Roofs.com.au, we take pride in being responsive, reliable, and ready to solve all your roofing needs. Simply complete the form & one of our team member will be in contact with you shortly.
Request a QuoteRoofs.com.au
Submit your interest
Submit your interest using the form below. We will review your details and get back to you.
Images on This Page
-
https://roofs.com.au/wp-content/uploads/2025/05/roofs.com_.au-logo.png
(no alt text)
-
https://roofs.com.au/wp-content/uploads/2025/10/image-7.webp
(no alt text)
-
https://roofs.com.au/wp-content/uploads/2025/10/image-8-1024x683.webp
(no alt text)
-
https://roofs.com.au/wp-content/uploads/2025/10/image-9.webp
(no alt text)
-
https://roofs.com.au/wp-content/uploads/2025/10/image-10.webp
(no alt text)
-
https://roofs.com.au/wp-content/uploads/2025/10/image-11.webp
(no alt text)
-
https://roofs.com.au/wp-content/uploads/2025/10/image-12-1024x574.webp
(no alt text)
-
https://roofs.com.au/wp-content/uploads/2025/10/Homeowner-documenting-roof-leak-damage-for-insurance-claim-1024x585.jpeg
Homeowner documenting roof leak damage for insurance claim
-
https://roofs.com.au/wp-content/uploads/2025/07/image-66.webp
(no alt text)
-
https://roofs.com.au/wp-content/uploads/2025/09/image-38.webp
(no alt text)
-
https://roofs.com.au/wp-content/uploads/2025/07/image-130.webp
(no alt text)
-
https://roofs.com.au/wp-content/uploads/2024/07/roofs.com_.au-logo-2.png
(no alt text)